

Tank Cure | How do you use it?
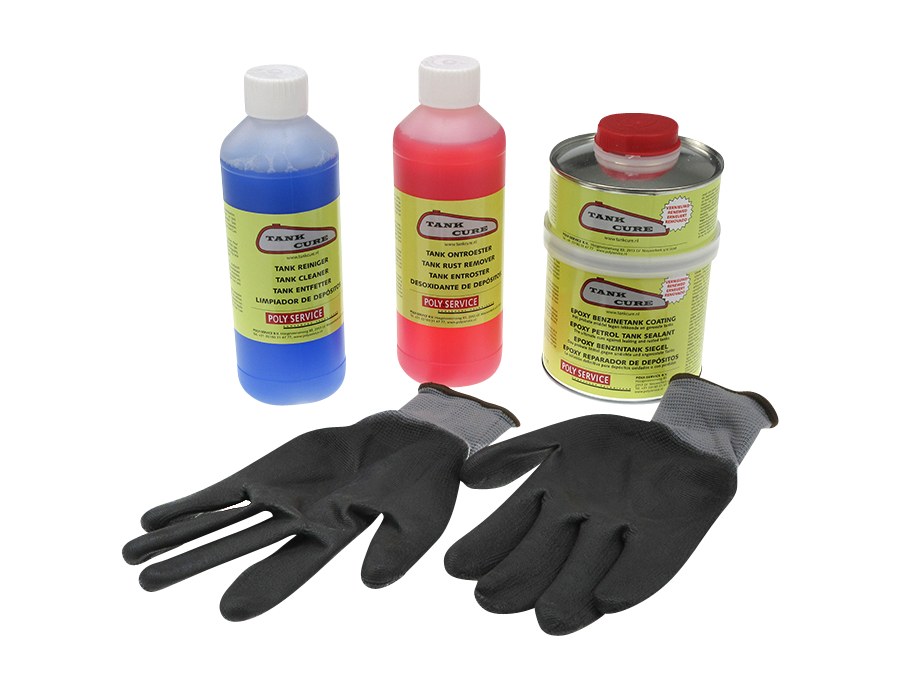
Tank Cure is a professional fuel tank sealing system used to clean, de-rust, and coat the inside of steel petrol tanks. It helps restore rusty tanks, seal small pinholes, prevent future rust, and protect the inside of a moped, motorcycle, or classic vehicle fuel tank.
For the best result, prepare the tank before applying the coating. The inside of the tank must be clean, dry, free of grease, and almost free of loose rust before you add the Tank Cure two-component epoxy tank sealant.
What is Tank Cure used for?
Tank Cure helps you recondition the inside of a fuel tank in a professional way. The petrol-resistant tank sealant has been used for many years in the Netherlands, Germany, England, and Belgium, especially on steel fuel tanks for mopeds, motorcycles, classic cars, and restoration projects.
Tank Cure can help you:
- Restore rusty fuel tanks
- Seal small pinholes and leaking seams
- Prevent new rust from forming inside the tank
- Protect the inside of a tank after cleaning or blasting
- Prepare an old steel tank for reliable daily use
How do you prepare a tank before using Tank Cure?
Preparation determines the final result. Before you apply Tank Cure tank coating, the inside of the tank must be clean, dry, free of grease, and mostly free of rust. This step is especially important for two-stroke mopeds because oil residue from premix fuel can prevent the coating from bonding properly.
Use the Tank Cure cleaner first to remove fuel residue, oil, and grease. Use the rust remover if the inside of the tank is rusty. Use the epoxy remover only when old tank coating, old sealant, or paint layers need to be removed.
| Product | Use it for | When to use it |
|---|---|---|
| Tank Cure Tank Cleaner | Degreasing the inside of the tank | Always recommended before applying tank coating |
| Tank Cure Rust Remover | Removing rust from inside the tank | Use when the tank has visible internal rust |
| Tank Cure Epoxy Remover | Removing old sealant, old coating, or paint layers | Use only when old coating must be removed or welding is planned |
Tank Cure preparation products
These Tank Cure preparation products create the correct base before you apply the tank sealant.
 Tank Cure Tank Degreaser / Cleaner 500ml
 Tank Cure Rust Remover 500ml
 Tank Cure Epoxy Remover 500ml
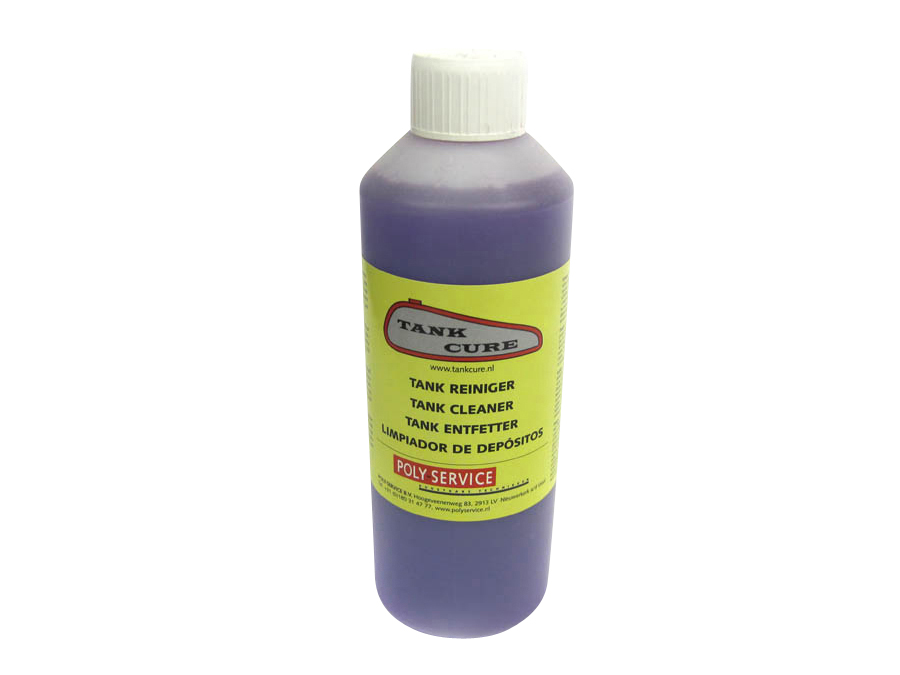
Tank Cure Tank Cleaner
Tank Cure Tank Cleaner is a strong cleaning fluid that degreases the inside of the fuel tank. Always use it before applying the coating, especially on two-stroke tanks that may contain oil residue from premix fuel. A clean surface gives the sealant the best chance to bond correctly.
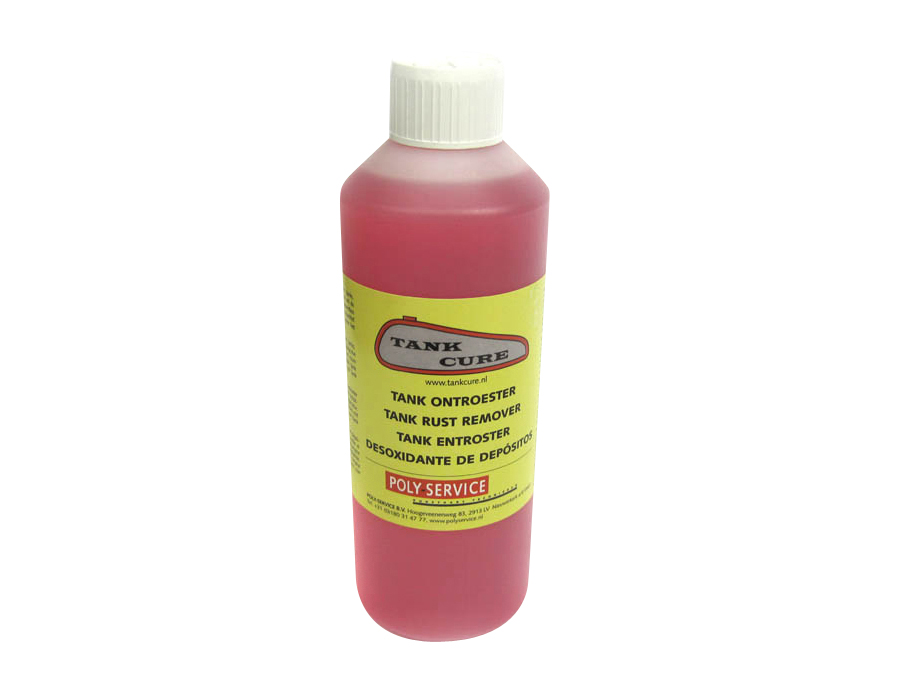
Tank Cure Rust Remover
Tank Cure Rust Remover treats tanks with a rusty interior. Use it when the inside of the tank has visible rust, loose rust particles, or corrosion that could contaminate the fuel system.
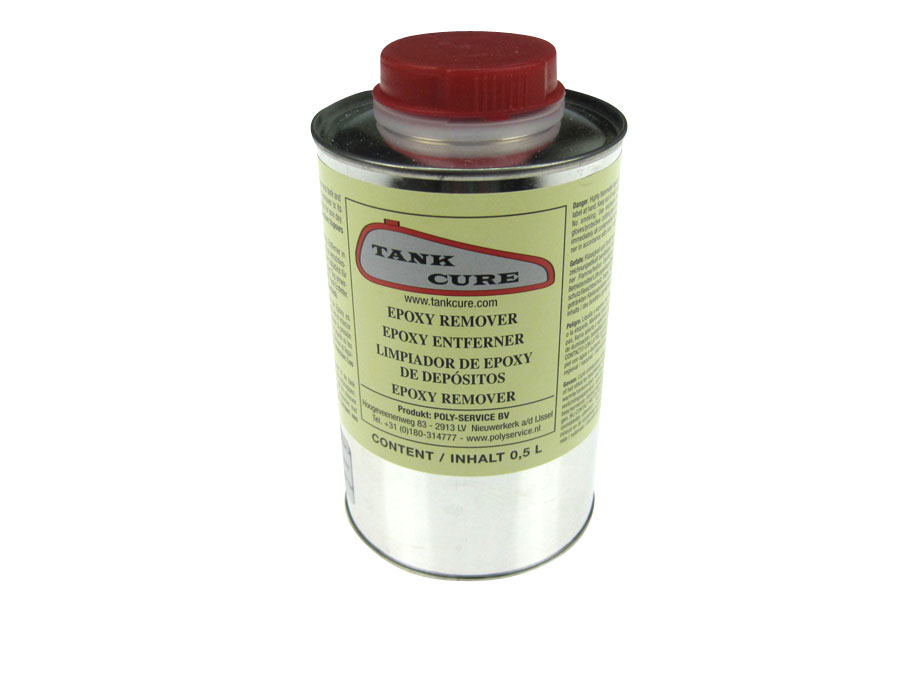
Tank Cure Epoxy Remover
Tank Cure Epoxy Remover removes old paint, old coating, and old tank sealant. Use this product if you need to remove a failed coating, apply a new sealant, or prepare a tank for welding.
Back to topWhich Tank Cure coating do you need?
Use enough tank sealant to coat the complete inside of the tank, not only the bad spots. You cannot see every internal surface during application, so it is better to have enough coating available than too little.
| Tank size | Recommended Tank Cure coating | Typical use |
|---|---|---|
| Small moped tanks under 10 litres | Part of a 450 gram set may be enough | Puch, Tomos, and other classic moped tanks |
| Motorcycle tanks up to 20 litres | 450 gram Tank Cure coating | Most motorcycle and larger moped fuel tanks |
| Large tanks up to 50 / 60 litres | 600 gram Tank Cure coating | Car tanks and larger classic vehicle tanks |
 Tank Cure Tankcoating 450 Gram Set
 Tank Cure Tankcoating 450 Gram
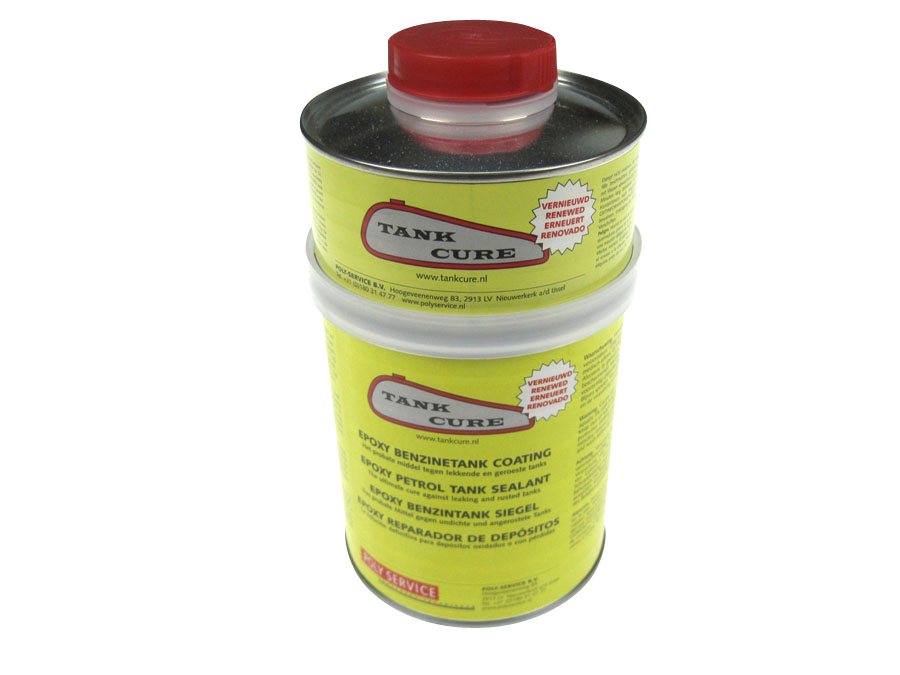 Tank Cure Tankcoating 600 Gram
How do you use Tank Cure tank sealant?
Tank Cure tank sealant is a two-component epoxy resin. After you mix both components, the curing process starts through a chemical reaction. Work carefully, prepare everything before mixing, and make sure the tank is ready before you open the coating.
Step 1: Remove fuel, dirt, and loose rust
Empty the fuel tank completely. Remove loose dirt and rust particles. If the tank is very rusty, you can shake clean gravel inside the tank to loosen heavy rust before using the rust remover.
Step 2: Degrease the tank
Clean the inside of the tank with Tank Cure Tank Cleaner. This removes fuel residue, oil, and grease. This step is very important for two-stroke moped tanks because premix oil can stop the coating from bonding to the steel.
Step 3: Remove rust if needed
If the tank is rusty inside, treat it with Tank Cure Rust Remover. Follow the product instructions and rinse the tank properly between chemical steps. Do not mix different chemical products inside the tank.
Step 4: Dry the tank completely
Let the tank dry fully before applying the sealant. The surface must be dry before the epoxy coating goes in. Moisture, grease, and loose rust can reduce adhesion.
Step 5: Mix both Tank Cure components
Add the two epoxy components together and stir them thoroughly for several minutes. Once mixed, you have about 30 minutes of working time. After roughly 45 minutes, the product starts to cure quickly.
Step 6: Pour the sealant into the tank
Pour the mixed sealant into the petrol tank and seal the filler opening properly. Make sure fuel taps, threaded holes, and openings are protected or closed before you begin rotating the tank.
Step 7: Slowly rotate the tank
Turn the tank slowly in all directions for about 15 to 20 minutes. Let the sealant touch every internal surface several times. Take extra time around seams, corners, internal shields, and areas where rust or leaks were present.
Step 8: Drain the excess sealant
Open the filler cap and place the tank upside down to drain as much excess sealant as possible. Do not leave unnecessary pools of coating inside the tank.
Step 9: Clear vents and small tubes
If the tank has small air vent tubes, clear them with compressed air before the coating starts to cure. This prevents the sealant from blocking the ventilation system.
Step 10: Let the coating cure
Let the coating cure according to the Tank Cure instructions before adding fuel. Do not rush this step. The coating needs enough time to harden before the tank goes back into use.
Back to topImportant safety notes before using Tank Cure
Tank Cure products are chemical products. Always read the safety data sheet before use. Work in a well-ventilated area, wear suitable gloves and eye protection, and avoid breathing vapour. Never weld a tank that contains fuel vapour, coating residue, or chemical residue.
If you plan to weld the tank in the future, remove the tank sealant first. In general, tank sealants can melt at temperatures above approximately 150°C, which can make welding unsafe or impractical.
FAQ: Tank Cure
When should I treat a fuel tank with sealant?
Treat a fuel tank with sealant when it has internal rust, leaking seams, or small pinholes. It is also smart to seal a freshly restored or re-chromed tank because bare metal can rust quickly.
Do I need to clean the tank before using Tank Cure?
Yes. Always clean and degrease the tank before applying sealant. A two-stroke tank often contains oil residue from premix fuel, and that residue can prevent the coating from bonding properly.
Do I need rust remover before applying Tank Cure?
Use rust remover when the inside of the tank is visibly rusty. Remove as much loose rust as possible before applying the final tank coating.
How much Tank Cure sealant do I need?
As a guide, use 450 grams for tanks up to about 20 litres and 600 grams for tanks up to about 50 to 60 litres. Always use enough sealant to cover the complete inside of the tank.
Can Tank Cure seal small pinholes?
Yes, Tank Cure can seal small pinholes. Holes larger than about 2 millimetres should normally be welded or soldered first, then sealed afterward.
Should I apply tank sealant before or after painting the outside?
In most cases, apply the sealant before painting the outside of the tank. This reduces the risk of damaging fresh paint. If the paint process uses temperatures above 100°C, paint first and check the sealant specifications before coating the inside.
Can I use Tank Cure in plastic, polyester, or carbon fibre tanks?
Tank Cure is mainly used in sheet metal tanks. Soft plastic tanks made from polyethylene or polypropylene often have poor adhesion. For polyester or carbon fibre tanks, ask the supplier for application advice before use.
How long can I work with Tank Cure after mixing?
After mixing the two components, you can work with the sealant for about 30 minutes. After roughly 45 minutes, it begins to cure and harden quickly.
What colour is Tank Cure sealant?
Tank Cure sealant is transparent.
Can I treat two tanks with one Tank Cure package?
Yes, in some cases. A 600 gram package can treat two tanks up to about 10 to 12 litres each. A 450 gram package may treat two tanks smaller than 10 litres. Use accurate digital scales if you divide the two components.
Can I use Tank Cure if the tank has internal shields?
Yes. Use enough sealant and take extra time rotating the tank. Try to coat the internal shields first, then cover the easier surfaces such as the top and bottom of the tank.
What should I do if old tank coating is coming loose?
Use Tank Cure Epoxy Remover to remove old or loose coating. After the old coating has been removed, clean the tank, dry it fully, and apply fresh Tank Cure sealant.
Can I use Tank Cure for other purposes?
Tank Cure has also been used as a crankcase sealant, inside car doors, inside mudguards, and on cork carburettor floats. The surface must always be dry and free of grease before application.
Tank Cure safety data sheets
Read the safety data sheets before using Tank Cure products.
- Tank Cure Tank Degreaser / Cleaner SDS
- Tank Cure Rust Remover SDS
- Tank Cure Epoxy Remover SDS
- Tank Cure Component A SDS
- Tank Cure Component B SDS
Source: www.tankcure.nl
Back to top


